Step 1: Create a conversion action on Google Ads.
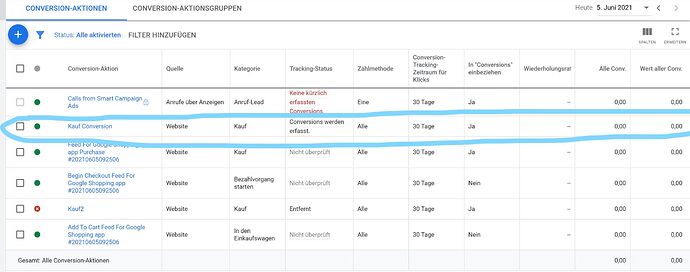
In your Google Ads account, click on the Tools & Settings icon. Under Measurement, click Conversions. Click on the plus (+) button and choose a conversion source and choose Website. Select which action you want to track. There are many options available. To track sales, for example, choose Purchase. Give this conversion a name.
Fill out the rest of the information according to your preferences. I’ll explain them below:
Value: What value will you give each conversion?
Use the same value for each conversion if you only sell one type of product at one price.
Use different values for each conversion if you sell multiple products at different prices.
Don’t use a conversion value for each conversion if you don’t want to measure the impact of your ads. This will set the conversion value to 0.
Count: How do you want to count your conversions?
Every action coming from a click counts as a conversion each. Meaning, if a user makes 2 separate purchases on different occasions after they click on your ad, 2 conversions are recorded.
One conversion is recorded per click regardless of the different conversion actions done by the customer.
Click-through conversion window: How long do you want Google to record conversions after a customer clicks on your ad?
View-through conversion window: How long do you want Google to record conversions after a customer views your ad? Customers may see your ad and not click, but they can still convert later.
Include in conversions: Tick this box if you want to include these conversions in your “Conversions” column when you monitor your campaigns’ performance.
Attribution model: This lets you choose how much credit each ad interaction gets for your conversions. Most use the “last click” attribution, meaning that all the credit for a conversion is given to the last clicked ad and its corresponding keyword. Learn more about attribution models here.
When done, click on Create and Continue. This will take you to a page where you can set up your conversion tracking tag. Click on Install tag yourself. Keep this page open for the next step.
Step 2: Set up your conversion tracking tag in your admin page
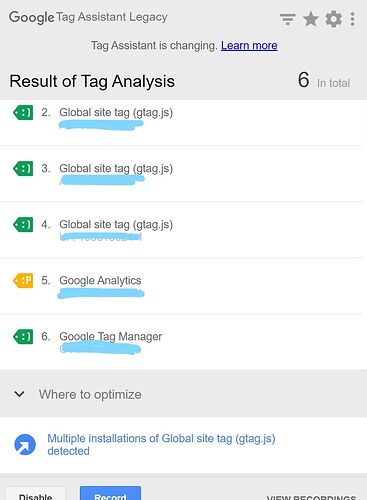
There are two tags you need to be aware of, the Global Site Tag and the Event Snippet. You must have both if you want the conversion tracking to work.
The Global Site Tag needs to go on every page of your website. It should look something like this:
If this is your first time, select The global site tag isn’t installed on all your HTML pages. Copy the tag and go to Appearance > Theme Editor in your admin page. Go to the Theme Files list on the right-hand side. Scroll down, look for the Theme Header file and click it. It should take you to its code section. Look for the element in the code. Paste the global site tag anywhere between it and the element. Then, click on Update File.
Select The global site tag is already installed on all pages but comes from another Google product (such as Google Analytics) or from another Google Ads account if it applies to you. Copy the code that contains your conversion ID and paste it on the global site tag, right before the element.
The conversion ID code should look like this:
gtag(‘config’, ‘AW-CONVERSION_ID’);
Click Update File.
If you already had it installed previously, select The global site tag on all pages was installed already when you created another conversion action in this Google Ads account. Just make sure you have the correct conversion ID when you do this.
The Event Snippet (or conversion tracking code) needs to go on your conversion page (“Thank You” page). You can either track conversions through a Page Load or a Click. Make sure you select the correct one before copying the event snippet.Copy the snippet from your Google Ads account and go to admin page you’d like to track. On the top right corner of the text box, you have two options: Visual and Text. Click Text and paste the event snippet either above or below all the text you have there. Click Update.
If you’re tracking clicks, make sure to also add the onclick attribute to the same text box mentioned above for the button or link you want to track. The codes that should be added to the link or button tag are highlighted below.
For links:
<a onclick=”return gtag_report_conversion(‘http://example.com/your-link’);”
href=”http://example.com/your-link” >Buy now!
For buttons:
<button onclick=”return gtag_report_conversion(‘http://example.com/your-link’)”>Download
For button images:
<img src=”submit_button.gif” alt=”Submit” width=”32″ height=”32″ onclick=”return gtag_report_conversion(‘http://example.com/your-link’)”****/>
If you want to optimize your Google Ads campaigns, I recommend you this free Google Ads Shopify automation.


